
Dripping with Joy
The season of drip bags and gifting
Drip bags make the perfect gifts for Christmas – be it in the office or out in the great outdoors, it is adaptable to any occasion, and can make a mean cup of coffee with little to no hassle at all.
The idea of drip bags as gifts for acquaintances or office colleagues has definitely crossed the minds of many before, and what better time for gifting than the season of Christmas!
Armed with the drip bags that you might give or receive during this season of joy and gift-giving, you may wonder how exactly to go about brewing the perfect cup of drip bag coffee. Well, the tricks to mastering a drip bag brew are at hand.
Drip Bag Shape
Conventional drip bags usually carry about 11 grams of coffee, and when opened up properly and placed on a cup, they take the appearance of a tall and thin column with a narrow opening for us to pour water into.
Given the tall and narrow shape of this dripper, where the walls are all made from filter paper, caution needs to be taken when pouring water into the bag. Any mistakes in pouring, such as pouring water on to the empty walls of the dripper, causes the brew to channel.
Simply put, the channeling of water is when the water completely skips contact with any of the coffee grounds and goes straight into the cup. This often creates a slightly watered-down effect on the taste, and can potentially result in a coffee that is lacking in mouthfeel and body.
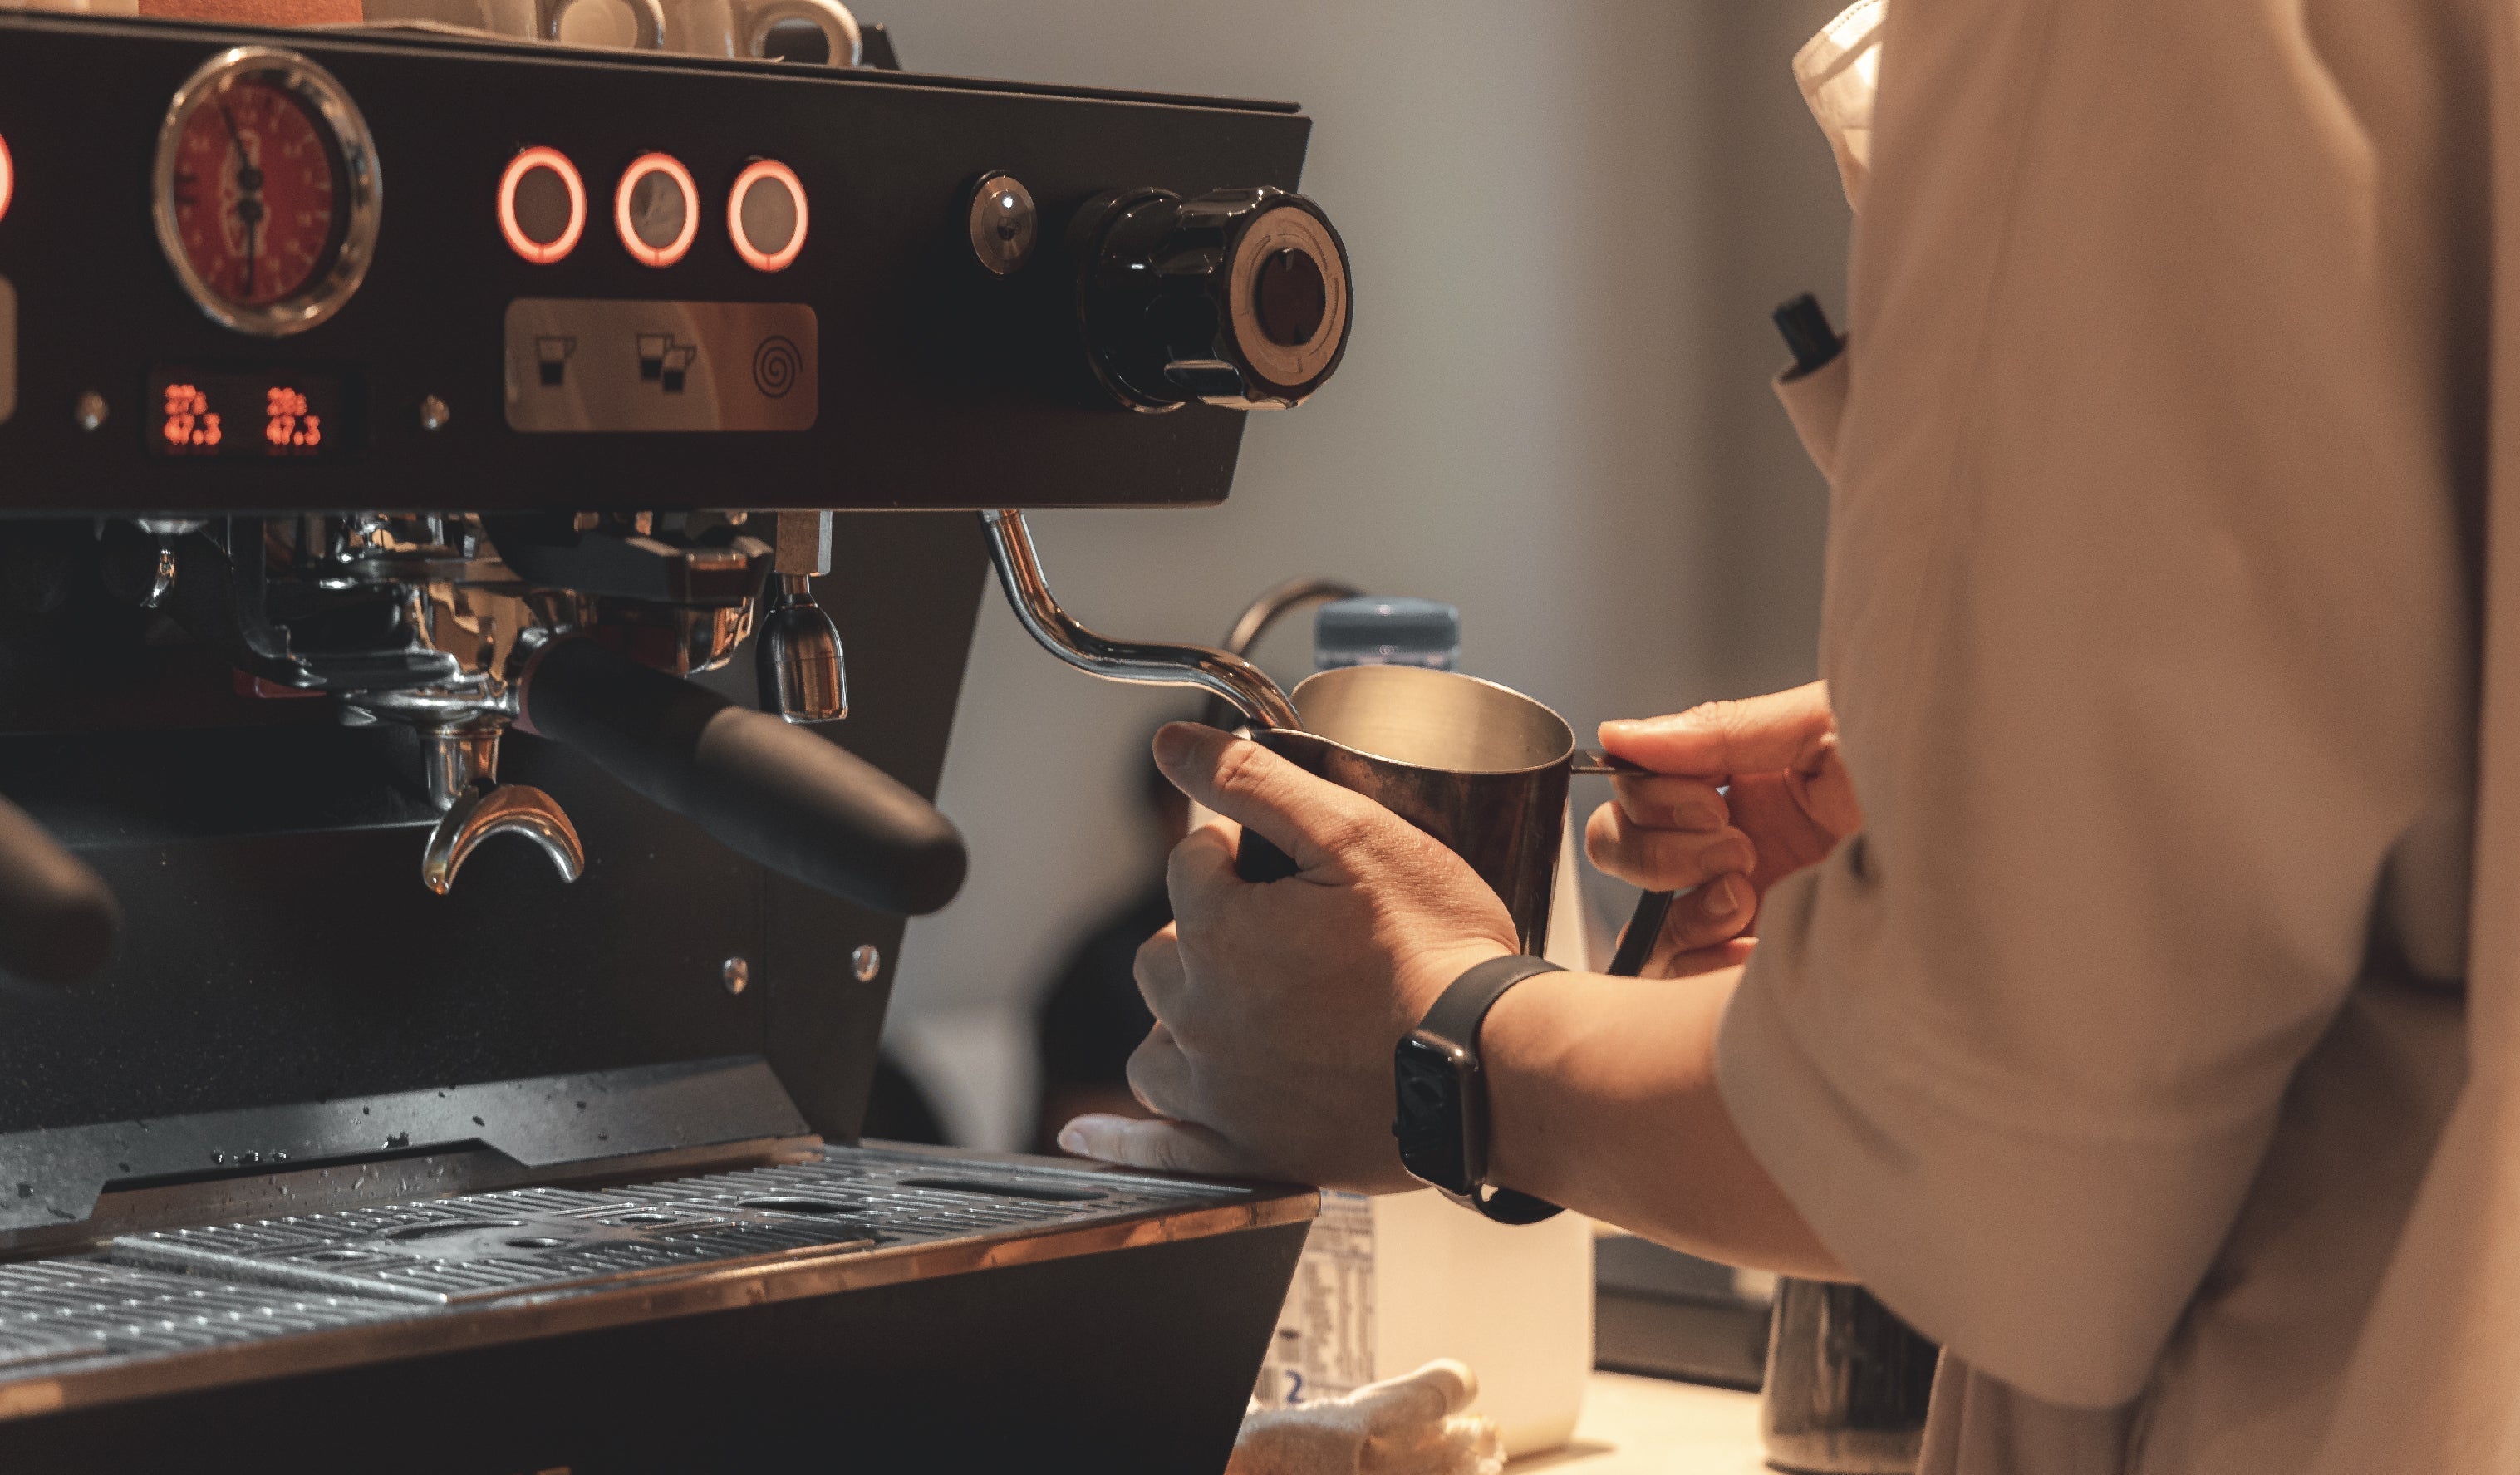
As such, it is very important to be able to control the pouring of water into the drip bag. A gooseneck kettle with its thin spout enhances control over the flow rate of the water stream, greatly reducing the chances of channeling. This can be done without the highly advanced kettles used for typical pour overs – the Home Brewing Kettle, or even a milk pitcher, are highly affordable options that cost less than a typical set of drip bags!
Drinking Cup
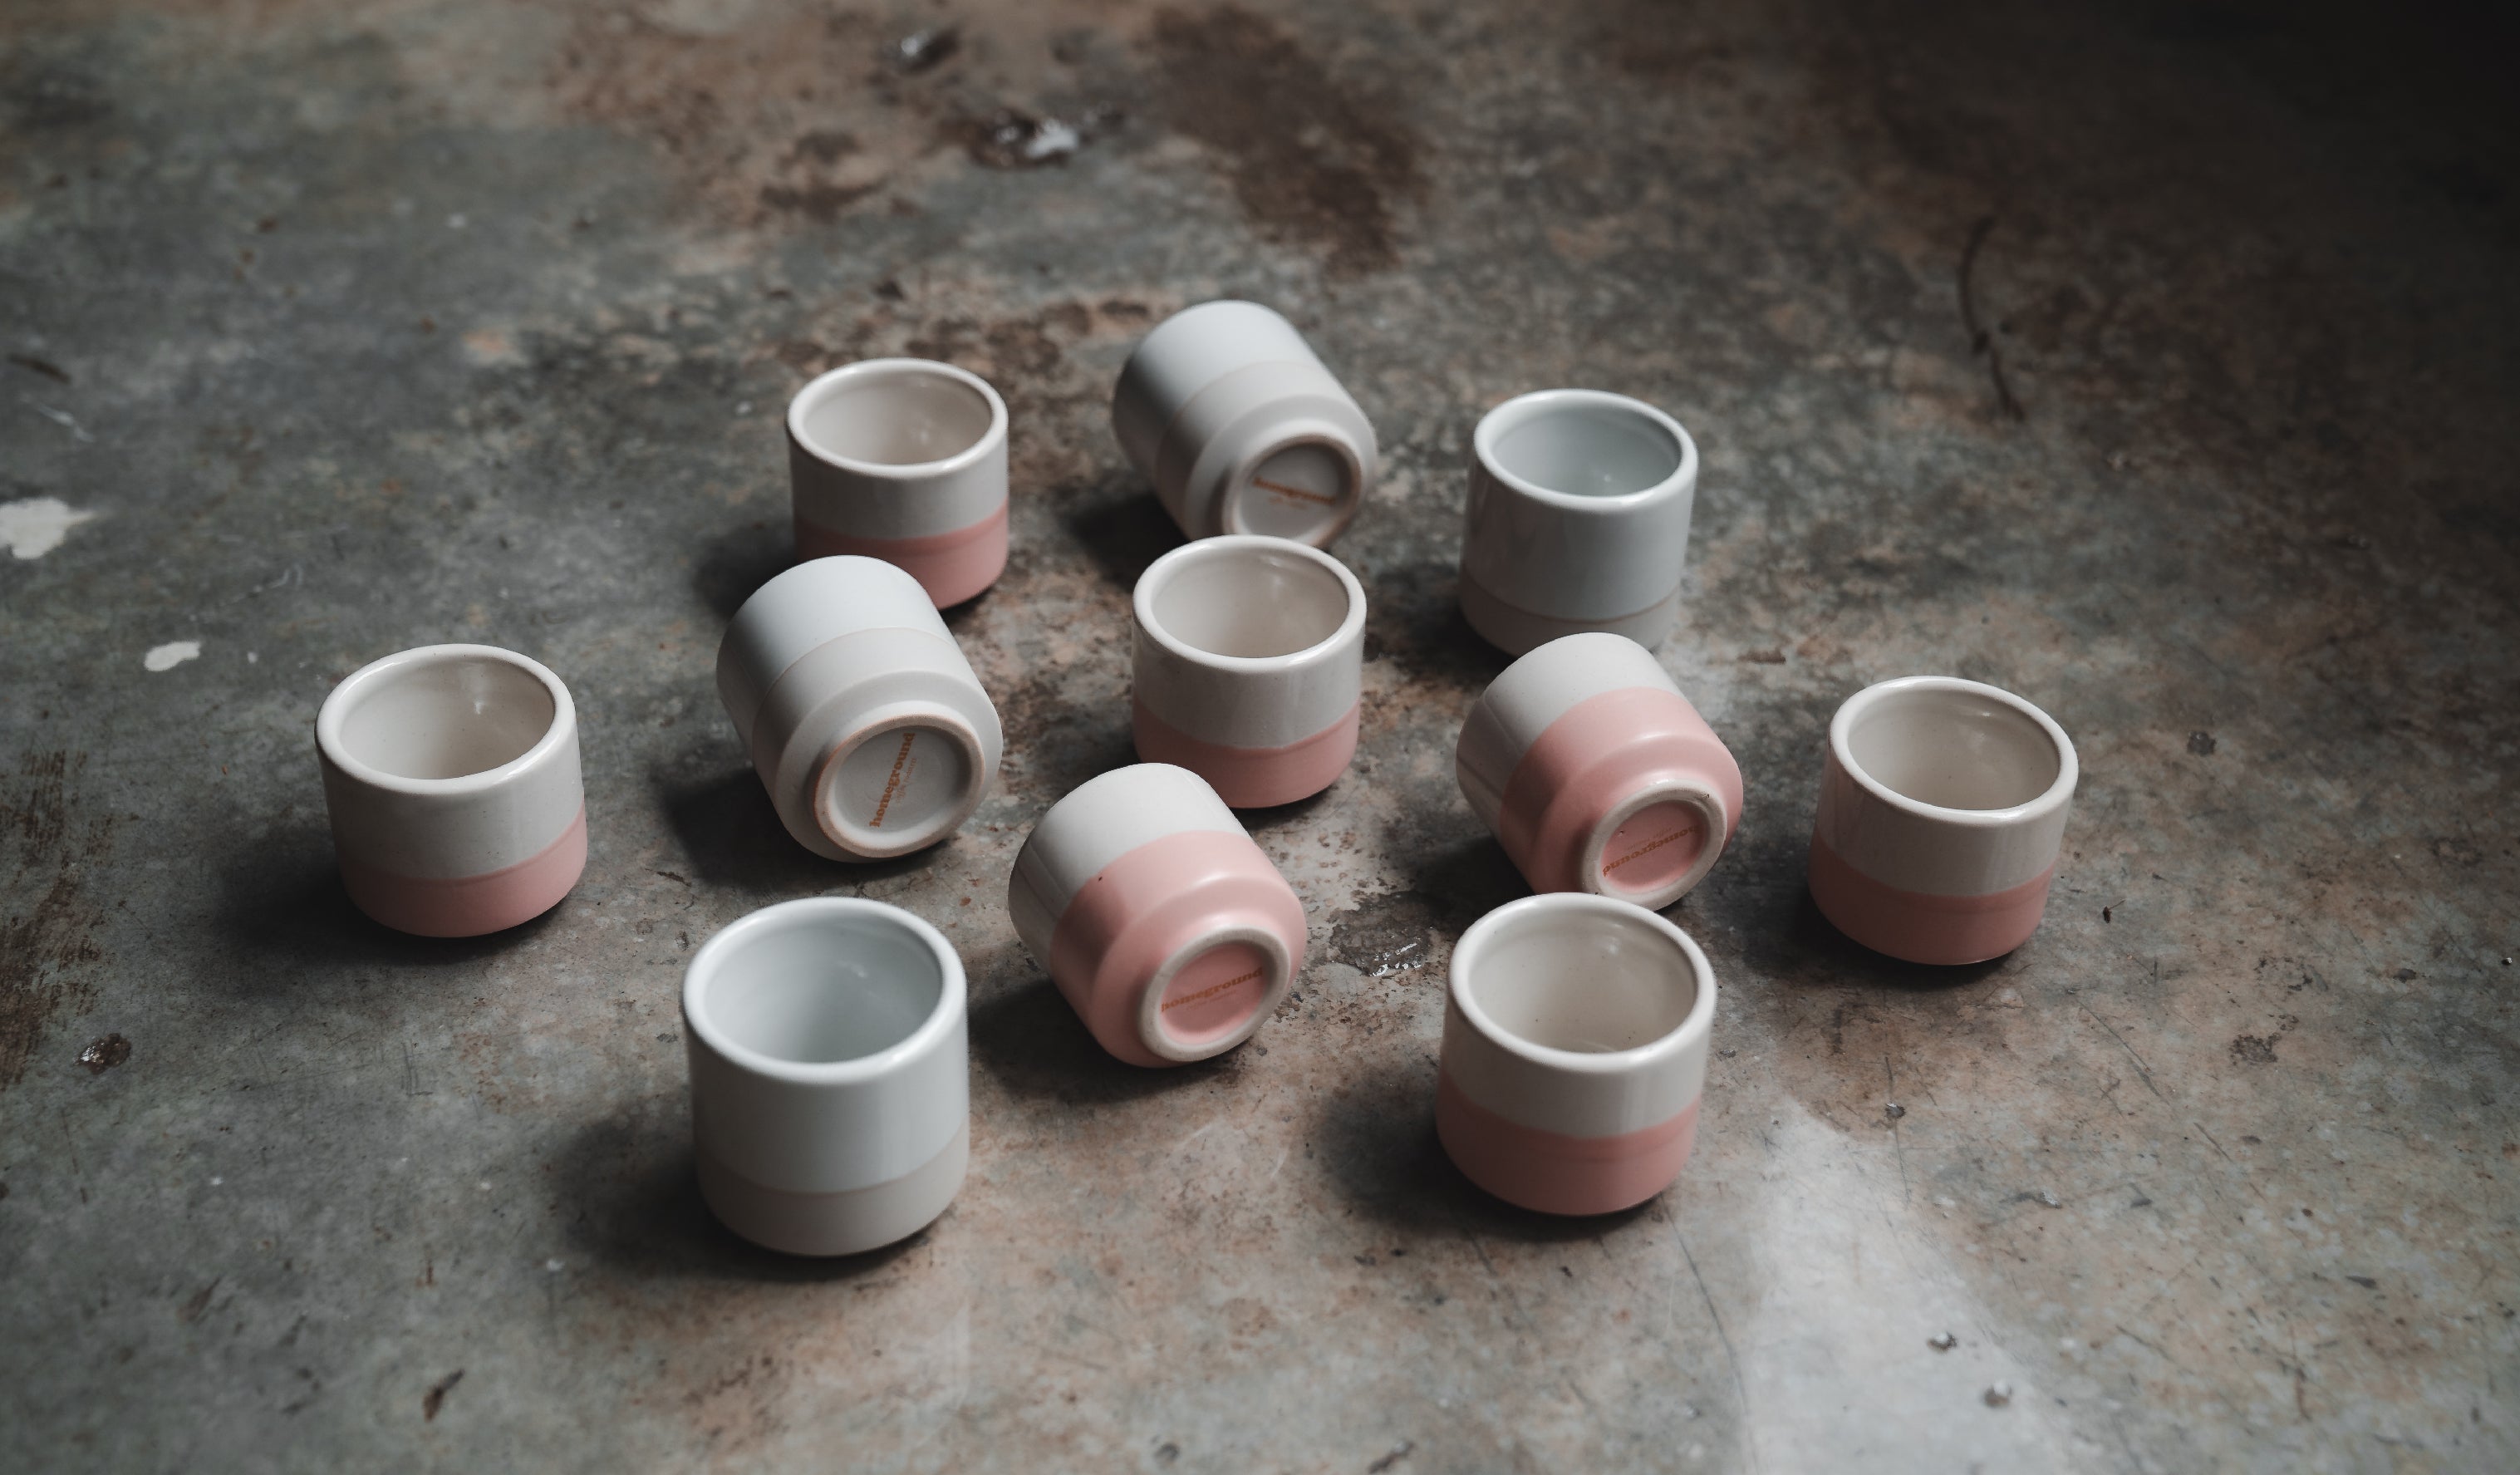
It is also of great importance to have a cup that is tall enough for brewing a drip bag.
The long shape of the drip bags reduces the depth of the cup itself, and it is important to be able to let sufficient coffee drip out without the drip bag soaking in the brewed coffee underneath towards the end of the brew. Unfortunately, as every single cup varies in diameter and volume, there are no fixed dimensions that allow one to define what makes an acceptable cup for a drip bag.
At Homeground Coffee Roasters, we like the notNeutral Vero Latte Glass for its diameter, which fits a drip bag perfectly; and its volume, which easily holds a full serving of coffee – not to mention plus points for its chic glassware design.
Brew Variables
Between different beans and drip bags from various coffee roasters, the grind size of the coffee that is used in a drip bag varies to ensure that brewing with the same method yields a delicious cup every time.
Drip bags are therefore highly appealing for their simplicity of use and little equipment. With simply boiling hot water and the trusty and easily portable Home Brewing Kettle, one should be able to brew a cup of drip bag coffee with ease.
Brewing a nice coffee in uncomplicated situations like these requires a brewer to ensure that the brew variables are consistent with each brew. Ideally, the temperature of the water used has to be taken into account, as well as the brew ratio of the amount of water to coffee used.
A trick for consistent water temperature is to pour a fixed amount of freshly boiled water into the Home Brewing Kettle, and allow the kettle to sit at room temperature for 20 to 30 seconds before brewing the coffee. By varying the time that the kettle sits at room temperature, we are able to have some control over the brewing temperature of the water.
For consistency in the brew ratio of the coffee, you can refer to the markers on the drip bag to indicate the amount of water that is dosed. When water is poured to the top marker of the drip bag (as shown in the picture above), this comes out to approximately 100 grams of water. Taking into account the retention of water in the brew bed, two full pours to the top marker would yield an input of approximately 180g, a brew ratio of 1:16.
With this as a benchmark, adaptations to the brew ratio to suit one’s preferences can be made by changing the amount of water poured into the drip bag.
Pouring Techniques
Last but not least, there is also thought put behind the way that the water poured flows into the bag.
At the start of the brew, the pouring of water should ideally fully wet all the grinds, while preventing any channeling from occurring at the surface of the dry coffee bed. To do this, begin the pour with the water in a thin stream right into the middle of the drip bag, moving the stream ever so slightly to cover any dry coffee grounds that might float to the top of the brew bed in the process.
As the coffee grounds become fully immersed, and the water level starts to rise, slowly expand the pouring to small concentric circles while keeping the flow rate of the water stream consistent, to continue to agitate the coffee grounds as the drip bag fills up with water.
Once the water level hits the top marker, stop pouring and allow all the water to drain through before beginning the final pour. When fully drained through, remove the drip bag, and voilà: a tasty coffee, completed in a span of minutes. To those who will receive a few packs of delicious coffee drip bags this year, we hope this guide to mastering the drip bags will be useful, and we wish you a great holiday season dripping with joy!
Dripping with Joy
Journal article by Homeground Coffee Roasters.
Journal Archive
Milk in World Barista Competitions
An overview of milk concentration methods in coffee competition, focusing on freezing techniques that enhance milk's qualities for great coffee beverages.
How Coffee Cup Colours Affect Your Drinking Experience
Cross-modal perception of colours on the taste of coffee
Learning to enjoy more
Same Coffees Everywhere, All at Once
Why do local specialty coffee shops serve the same coffees?
A study of unexpected coffee production nations
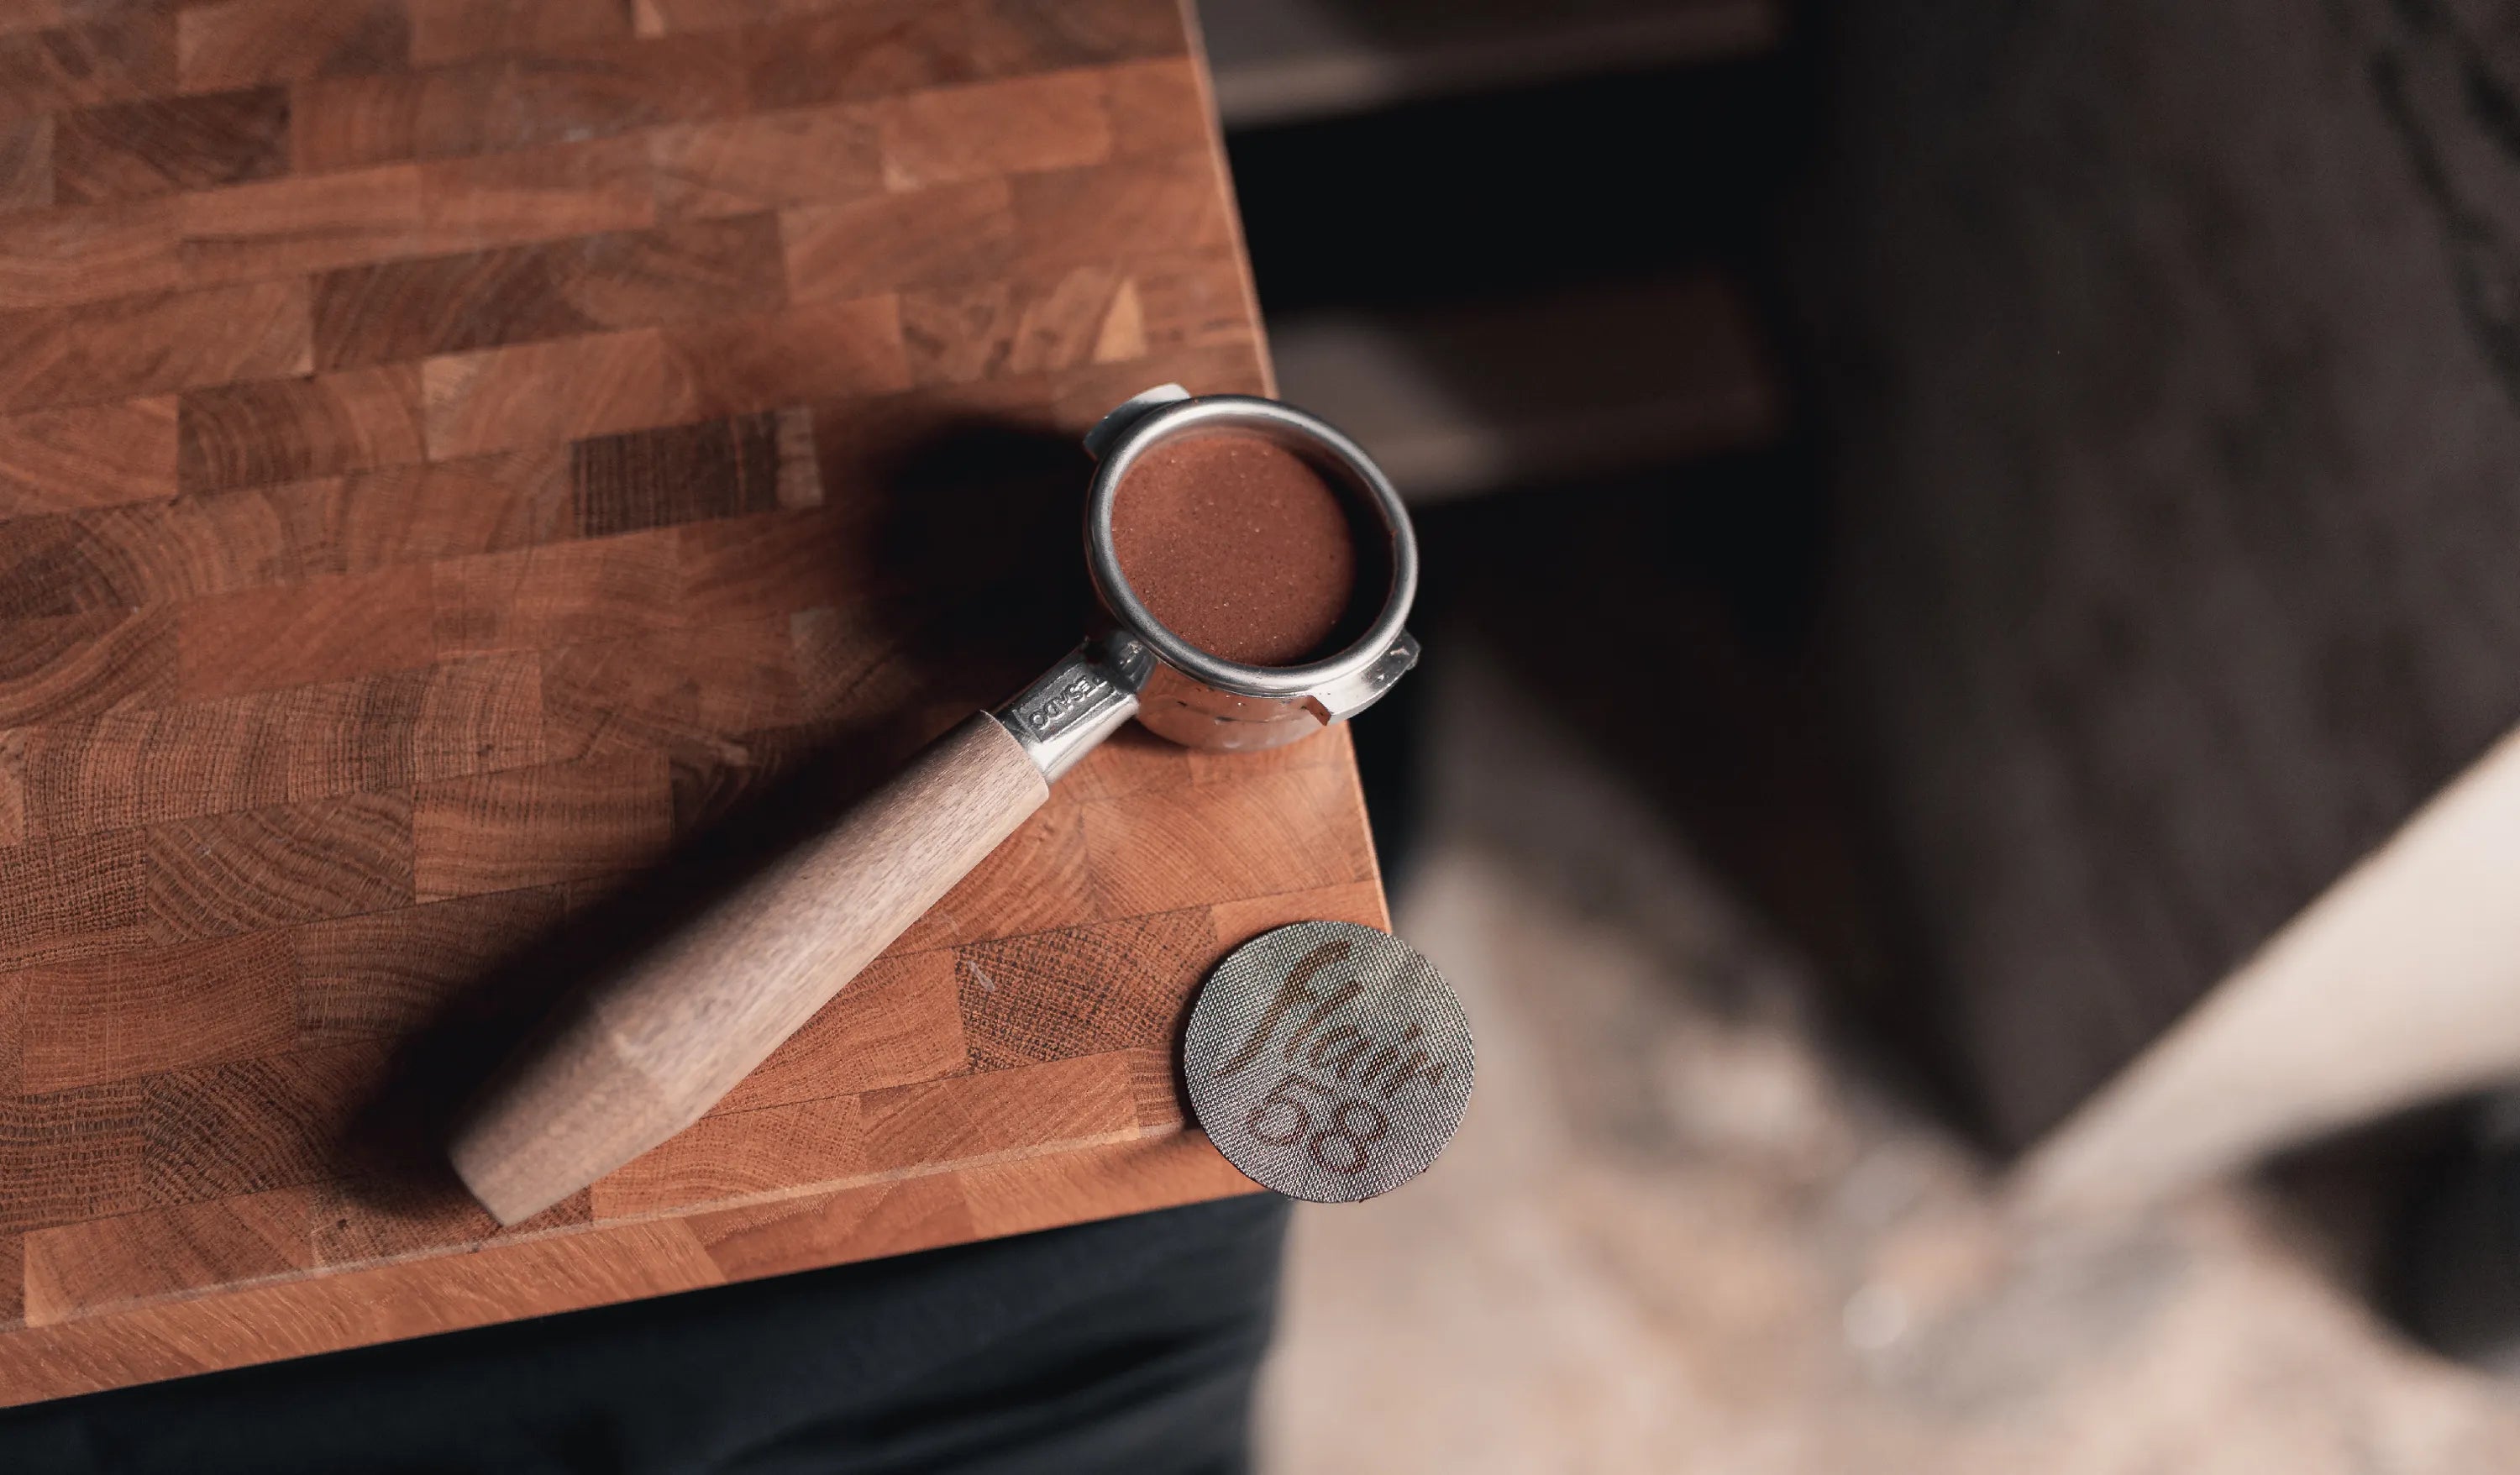
A low down on using puck screens for espresso machines